Starting a new software project as a junior engineer can feel overwhelming. The pressure to deliver code quickly often leads to skipping critical planning phases. However, the difference between a stable application and a fragile codebase often lies in the analysis and design stages. Object-Oriented Analysis and Design (OOAD) provides a structured approach to understanding requirements and translating them into a robust architecture.
Many developers jump straight into implementation, only to find themselves refactoring constantly or struggling with tangled dependencies. This guide serves as a practical reference. It outlines the necessary steps to ensure your design is sound before the first line of logic is written. By following this checklist, you build a foundation that supports future growth and maintenance.
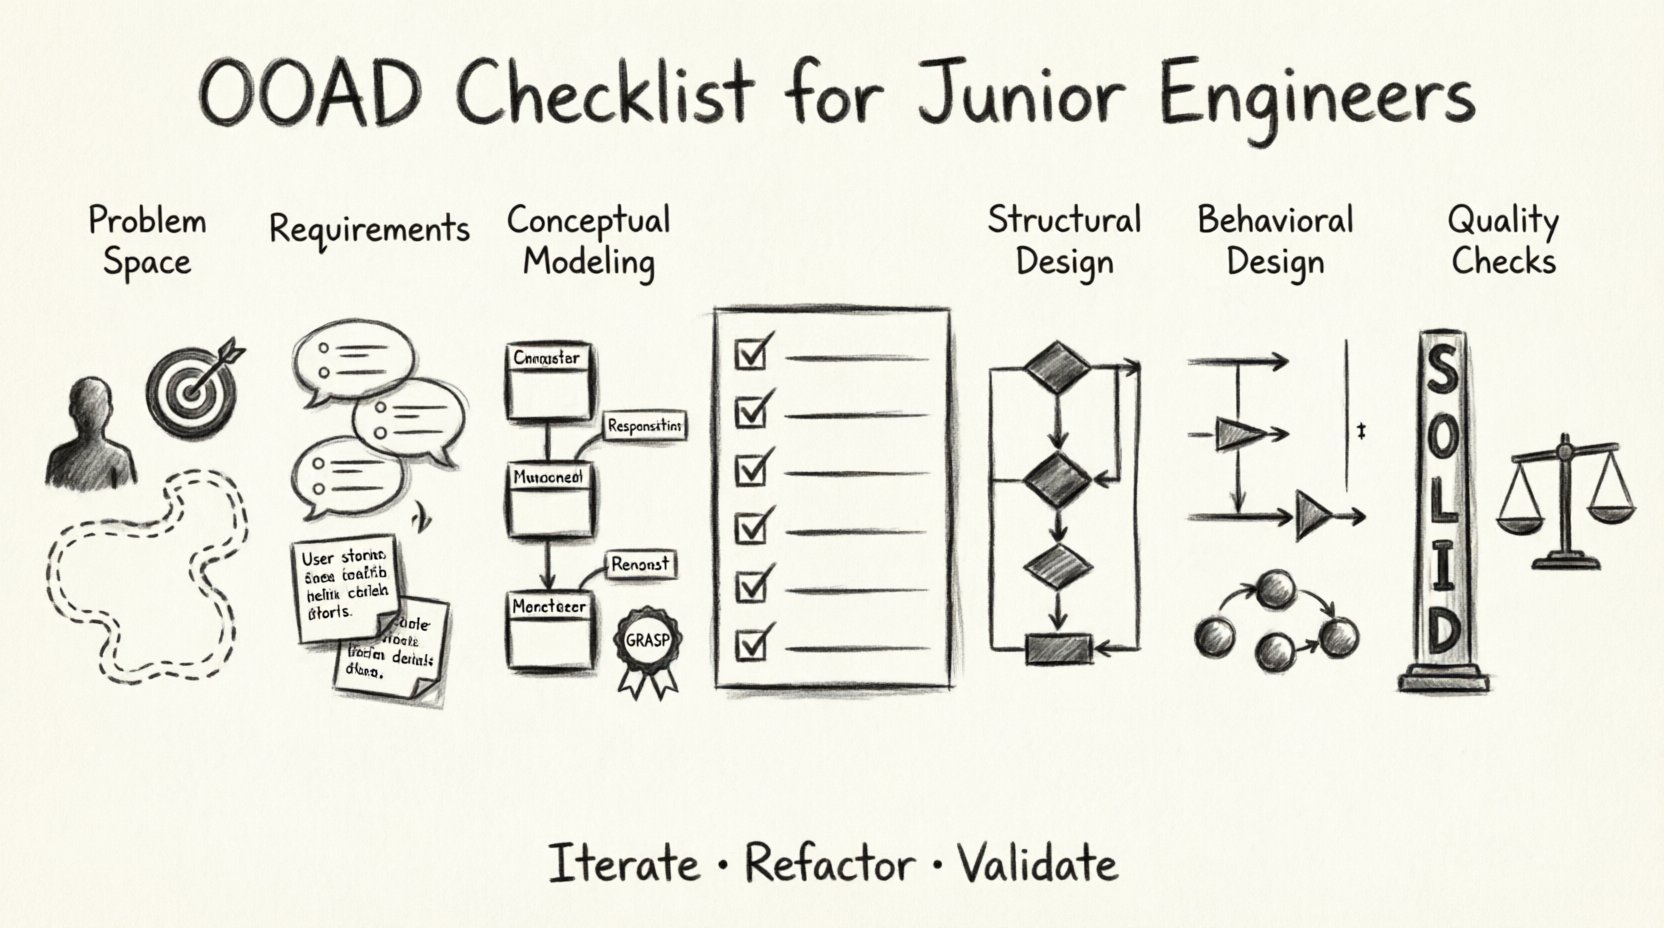
🧠 Phase 1: Understanding the Problem Space
Before defining classes or methods, you must understand what the system is supposed to do. Analysis is about discovery, not implementation. If you do not clearly define the boundaries of the problem, the solution will inevitably drift.
- Identify the Actors: Who interacts with this system? Is it a human user, an external API, or a background scheduler? List every entity that triggers an action.
- Define the Goals: What is the primary objective? Is it data processing, user management, or real-time monitoring? Write this down clearly.
- Map the Scope: What is included in the system and, crucially, what is excluded? Scope creep often happens because the initial boundaries were too vague.
Without a clear picture of the context, you risk building features that do not align with the actual needs of the users. Use simple diagrams to visualize the environment in which your software will operate.
📋 Phase 2: Functional Requirements and Use Cases
Functional requirements describe specific behaviors the system must exhibit. In an object-oriented context, these behaviors map directly to methods and actions within classes.
1. Use Case Analysis
A use case describes a sequence of actions that yields an observable result of value to an actor. When reviewing your requirements, ask these questions:
- What is the trigger? What event starts the process?
- What is the main flow? The standard path where everything goes right.
- What are the alternative flows? How does the system handle errors, cancellations, or unexpected inputs?
- What are the post-conditions? What state must the system be in after the action completes?
2. User Stories
While use cases are formal, user stories offer a lightweight alternative for capturing needs. A standard format helps maintain focus:
As a [role], I want [feature], so that [benefit].
Ensure every story has acceptance criteria. These criteria define exactly when a requirement is met. They serve as the test cases for your future development.
🏗️ Phase 3: Conceptual Modeling
Once the requirements are clear, you begin translating them into objects. This is where Object-Oriented Analysis shines. You are looking for nouns and verbs within the problem domain.
1. Identifying Classes and Objects
Read your requirement documents aloud. Highlight the nouns. These are likely candidates for classes or entities. However, not every noun becomes a class. Distinguish between:
- Entities: Things that persist in the system (e.g., User, Order).
- Interfaces: Things that facilitate communication (e.g., NotificationService).
- Value Objects: Things defined by their attributes rather than identity (e.g., Money, Address).
Be careful not to create classes that are too small or too large. A class should have a single reason to change. If a class handles database connections, user authentication, and email sending, it is too large.
2. Defining Responsibilities
Every object must know something or do something. This concept is known as Responsibility-Driven Design. For each candidate class, define:
- What information does it hold? (Attributes/Properties)
- What operations does it perform? (Methods/Functions)
- What does it know about other objects? (Relationships)
Use the GRASP patterns as a mental guide. These principles help assign responsibilities correctly. For example, the Information Expert pattern suggests assigning a responsibility to the class that has the information needed to fulfill it.
🔗 Phase 4: Structural Design and Relationships
Objects do not exist in isolation. They interact. Your design must define how these objects relate to one another. The structure dictates the complexity of your code.
1. Types of Relationships
Understand the difference between these fundamental relationships:
- Association: A link between objects where they know about each other (e.g., a Student enrolled in a Course).
- Aggregation: A “whole-part” relationship where the part can exist independently (e.g., a Department has Professors, but professors exist without the department).
- Composition: A stronger “whole-part” relationship where the part cannot exist without the whole (e.g., a House has Rooms; if the house is destroyed, the rooms cease to exist).
- Inheritance: A relationship where one class is a specialized version of another (e.g., Truck is a Vehicle).
2. Managing Complexity
Complex relationships lead to complex code. Aim for simplicity. If a class needs to know about five other classes to perform a simple task, consider introducing an intermediary or refactoring the logic.
Visualize these relationships using class diagrams. Even if you do not use a formal modeling tool, sketching boxes and arrows on paper helps identify circular dependencies or overly deep inheritance trees.
⚙️ Phase 5: Behavioral Design
Structure is static; behavior is dynamic. How do objects collaborate to achieve a goal? This phase focuses on the flow of data and control.
1. Sequence Diagrams
A sequence diagram shows how objects interact over time. It places objects on the horizontal axis and time on the vertical axis. When drawing these:
- Start with the external trigger (the user or system).
- Follow the message flow from one object to another.
- Identify where data is created, modified, or destroyed.
- Ensure loops and conditions are clearly marked.
This exercise reveals hidden dependencies. You might discover that Object A is calling Object B, which is calling Object C, just to get a simple string. This is a candidate for optimization.
2. State Management
Some objects change state significantly during their lifecycle. A Document might be in states like Draft, Review, Published, or Archived.
- Define the valid states for each object.
- Define the events that cause state transitions.
- Ensure invalid transitions are prevented. A Published document should not be editable directly.
Ignoring state logic often leads to bugs where data exists in an inconsistent condition. Use state diagrams if the logic is complex.
✅ Phase 6: Quality Assurance Checks
Before coding, review your design against established quality metrics. This step prevents technical debt from accumulating in the early stages.
1. Coupling and Cohesion
These are the two most important metrics for object-oriented health.
- High Cohesion: A class should have a single, well-defined purpose. All methods and attributes should relate to that purpose.
- Low Coupling: A class should not depend heavily on the internal details of other classes. It should interact through interfaces or public APIs.
If changing one class requires changes in five others, your coupling is too high. This makes the system brittle and hard to maintain.
2. The SOLID Principles
While often treated as a checklist, these principles are guidelines for maintaining design integrity:
- Single Responsibility Principle: A class should have only one reason to change.
- Open/Closed Principle: Entities should be open for extension but closed for modification.
- Liskov Substitution Principle: Subtypes must be substitutable for their base types without breaking the system.
- Interface Segregation Principle: Clients should not be forced to depend on interfaces they do not use.
- Dependency Inversion Principle: Depend on abstractions, not on concretions.
📝 The Master OOAD Checklist
Use this table to verify your design before opening your development environment. Tick each item off to ensure completeness.
| Category | Check Item | Status |
|---|---|---|
| Requirements | Are all actors and goals clearly defined? | ☐ |
| Requirements | Are acceptance criteria written for every feature? | ☐ |
| Conceptual | Have nouns been mapped to classes? | ☐ |
| Conceptual | Do classes have a single responsibility? | ☐ |
| Structure | Are relationships (Aggregation/Composition) clearly defined? | ☐ |
| Structure | Is there a risk of circular dependencies? | ☐ |
| Behavior | Have sequence diagrams been drawn for complex flows? | ☐ |
| Behavior | Is state management defined for long-lived objects? | ☐ |
| Quality | Is coupling minimized between modules? | ☐ |
| Quality | Does the design adhere to SOLID principles? | ☐ |
| Validation | Has the design been peer-reviewed? | ☐ |
| Validation | Are edge cases considered in the design? | ☐ |
🚫 Common Pitfalls to Avoid
Even with a checklist, certain traps catch experienced and inexperienced engineers alike. Awareness of these pitfalls helps you sidestep them.
1. The Anemic Domain Model
Do not create classes that are merely data holders with getters and setters. This is a common mistake where business logic is pushed into service classes, leaving domain objects empty. Instead, embed the logic within the objects that own the data. A BankAccount should know how to withdraw(), not just hold a balance number.
2. Over-Engineering
It is easy to design patterns for scenarios that do not exist yet. Do not create interfaces for every possible future requirement. Design for the current need, but keep the code flexible enough to adapt. Use the YAGNI (You Ain’t Gonna Need It) principle to guide your decisions.
3. Ignoring Data Flow
Designing the structure is not enough. You must understand how data moves through the system. If data needs to be transformed frequently, consider where that transformation happens. It is better to transform data close to its source than to pass raw data through multiple layers.
4. Tight Coupling via Concrete Types
Do not instantiate concrete classes inside other classes if you can avoid it. Use interfaces or abstractions. This allows you to swap implementations later without rewriting the dependent code. For example, inject a EmailService interface rather than a GmailService class directly.
🔄 Iteration and Evolution
Design is not a one-time event. It is an iterative process. As you code, you will discover new requirements or see flaws in your initial assumptions. This is normal.
- Refactor Continuously: If you find yourself copying and pasting code, stop. Create a method or a class to handle that logic.
- Update Documentation: If the code changes, update your diagrams. Outdated diagrams are worse than no diagrams at all because they mislead future maintainers.
- Seek Feedback: Present your design to senior engineers. They have seen patterns fail before and can offer insights you might miss.
Accept that your first design will not be perfect. The goal is to create a design that is easy to understand and easy to change. If you can explain your design to a colleague in five minutes, you are likely on the right track.
🔍 Deep Dive: Dependency Management
One of the hardest parts of OOAD is managing dependencies. A dependency exists when one object relies on another. Too many dependencies create a web of connections that is hard to untangle.
1. Dependency Injection
Instead of creating an object inside another, pass it in. This is known as Dependency Injection. It reduces coupling and makes testing easier. You can swap a real database connection for a mock connection during testing without changing the code logic.
2. Service Locators
Avoid using a global service locator. It makes dependencies invisible and hard to track. If a class needs a dependency, it should be explicit in its constructor or method signature.
3. Module Boundaries
Define clear boundaries between modules. A module should not expose its internal implementation details. Use a public interface to communicate with other modules. This encapsulation protects the internal state of your system.
🎓 Summary of Key Concepts
To wrap up, here are the core takeaways for your OOAD journey:
- Analysis First: Understand the problem before building the solution.
- Classes as Objects: Model real-world concepts, not just database tables.
- Communication: Define how objects talk to each other clearly.
- Quality Metrics: Watch for coupling and cohesion.
- Iterate: Be willing to change your design as you learn.
By adhering to this checklist, you move from writing code that works to engineering software that lasts. This approach builds confidence in your abilities and produces systems that are resilient to change. Remember, good design is invisible. It is only noticed when it is missing.
Keep this guide handy during your next project. Refer to it when you feel stuck. Let the structure guide your creativity, not hinder it. With practice, these steps will become second nature, allowing you to focus on solving complex problems with clarity and precision.

